On this page
Getting Started with a Package Project
The ArcGIS Pro Package Project file supplied with your order is a way to deliver all your data in one project. It is like a ZIP archive file of an ArcGIS Pro project and contains all of the necessary project components such as maps, data, symbology, settings, layouts, styles and anything else utilised in the project. The Package Project file will ensure that your data can be utilised immediately without having to fix any data connections. When ordering OS Mastermap it will be delivered using the ‘Carto’ map style symbology, which is a bespoke style developed by Esri UK. We will also provide the Area of Interest (AOI) of the data ordered within the Package Project to allow for easy navigation.
Extract the Package Project to access your data
1.Download the Package Project (.ppkx) file from Sharepoint
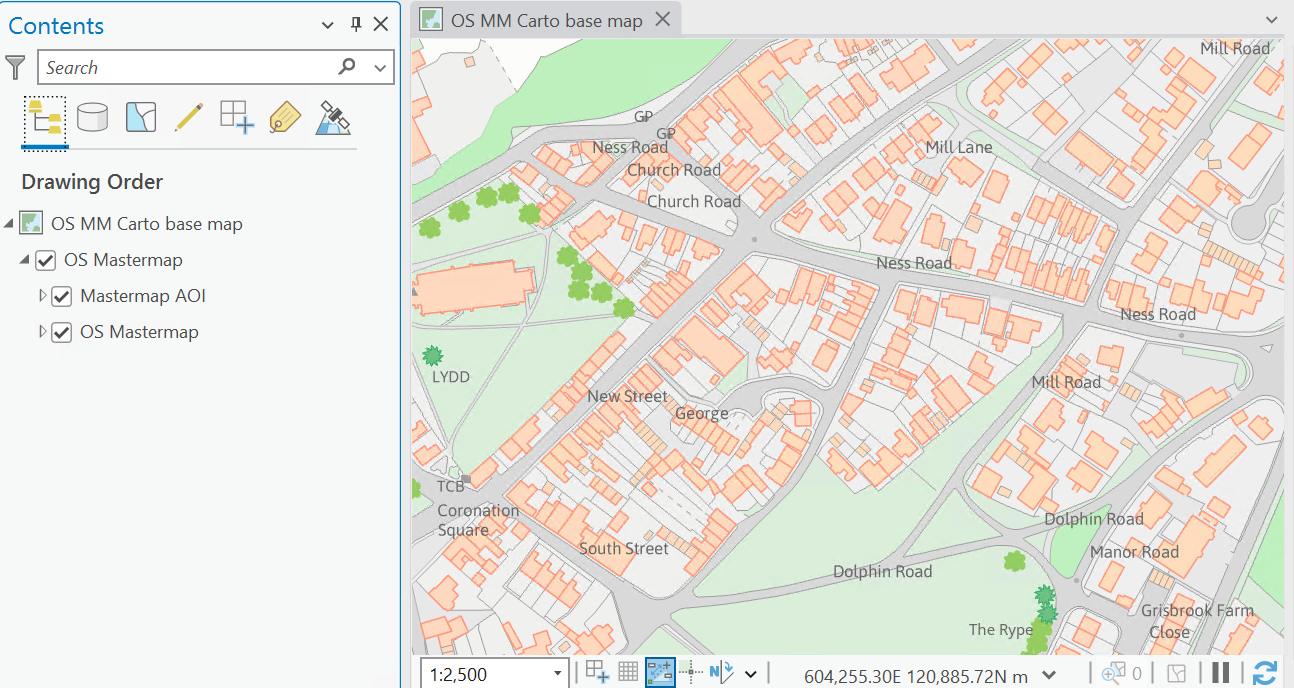
2. In Windows Explorer, double-click on the Package Project. This opens and extracts the Package Project to ArcGIS Pro’s default workspace on the local hard drive. To change this, use the Extract Package Tool in ArcGIS Pro to Extract it to a specific folder. When the Package Project opens the data will display in the Map and the Area of Interest (AOI). You may need to zoom in on your AOI to view the data as there are scale thresholds set so that the data will display from 1:10,000.
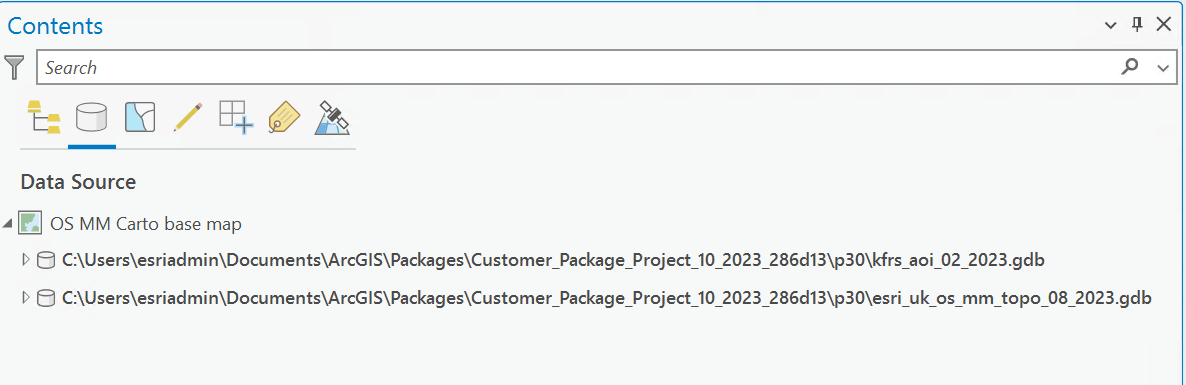
3. To find the location of the data click on the ‘List By Data Source’ view in the Contents pane and collapse all the file paths so that the paths to the data sources are visible.
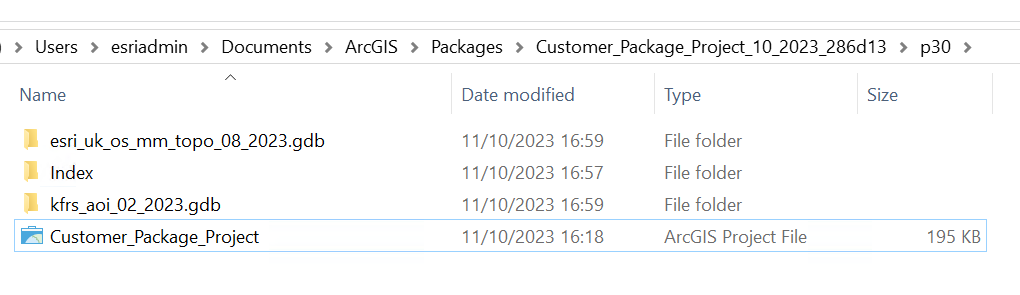
4. Navigate to the extracted data, the project folder may be organized a bit differently than the original project, and contains all of the extracted project components.
5. Save as an ArcGIS Pro Project(.aprx) file in a specified folder to work with going forward.
Please note that the data is still located in the default ArcGIS Pro’s default workspace on the local hard drive and to change this use the following method below to Extract the Package Project to a specific location on your machine.
Extract a Package Project to a specific location
To Extract a Package Project to a specified folder instead of the default ArcGIS Pro’s default workspace on the local hard drive, use the Extract Package Tool. The output folder will be updated with the extracted contents of the input package.
1.In ArcGIS Pro open the Extract Package Geoprocessing Tool and define the Input Package as the Package Project (.ppkx) file.
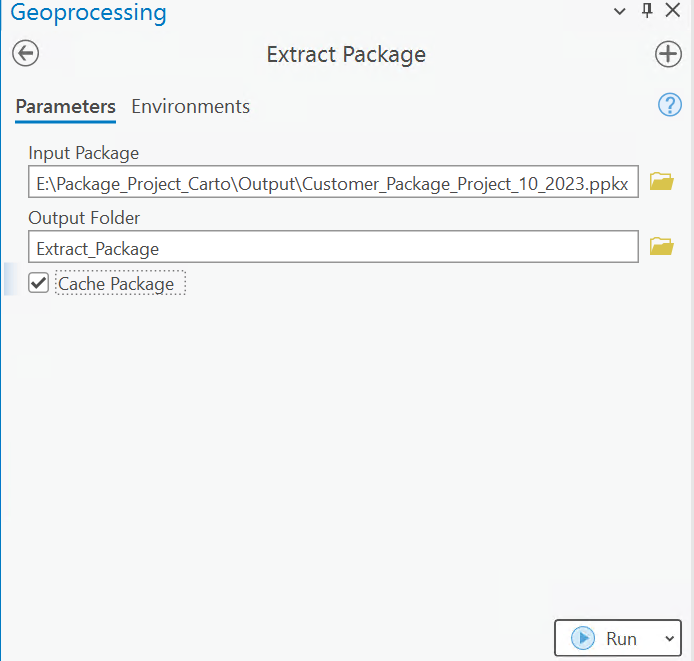
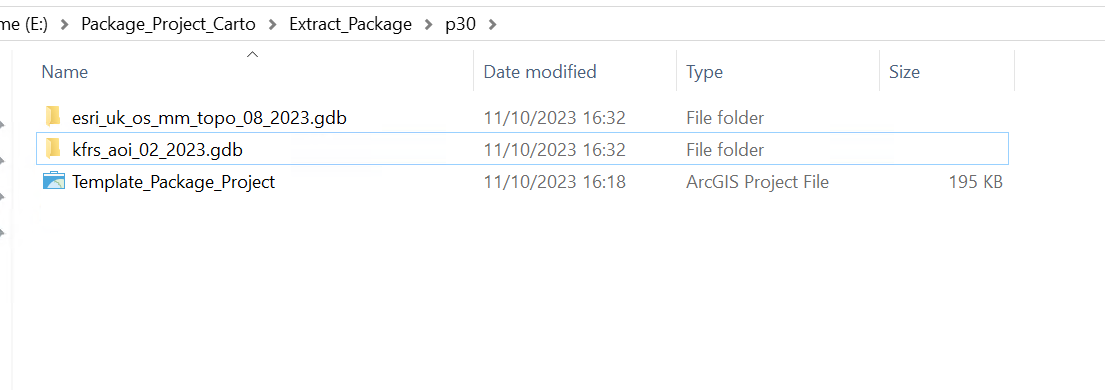
2. Click Run to Extract the Package. Once completed, the Package Project is extracted into the output folder. The folder name depending on which version of ArcGIS Pro is install, for example, for ArcGIS Pro 3.0 access the p30 folder as shown below
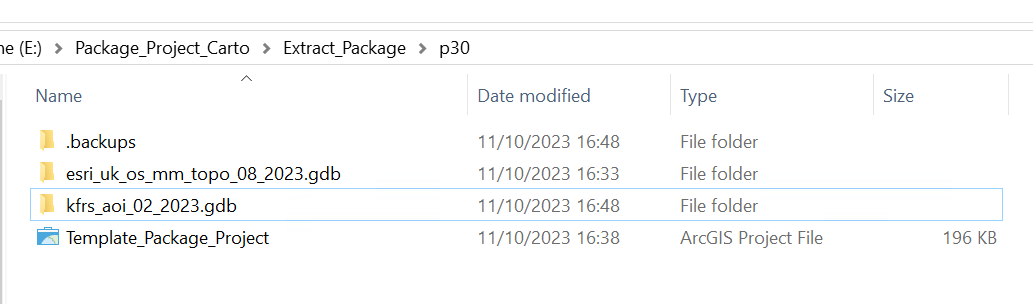
3. Click on the ArcGIS Pro Project File (.aprx) file to access the data. When the Project opens the data will display in the Map.
4. The data is now located in the output folder specified in the Extract Package tool. Click on the ‘List By Data Source’ view in the Contents pane and collapse all the file paths to view the paths to the data sources.
5. Save as an ArcGIS Pro Project(.aprx) file in a specified folder of your choice to work with the ArcGIS Pro Project file going forward and the process does not need to be completed again.
To access online data sources
Online data sources can be added to the ArcGIS Pro Project such as online basemaps, maps from your Organisations ArcGIS Online account or other Premium data you have purchased from Esri UK such as the TitleInfo hosted Feature Service.